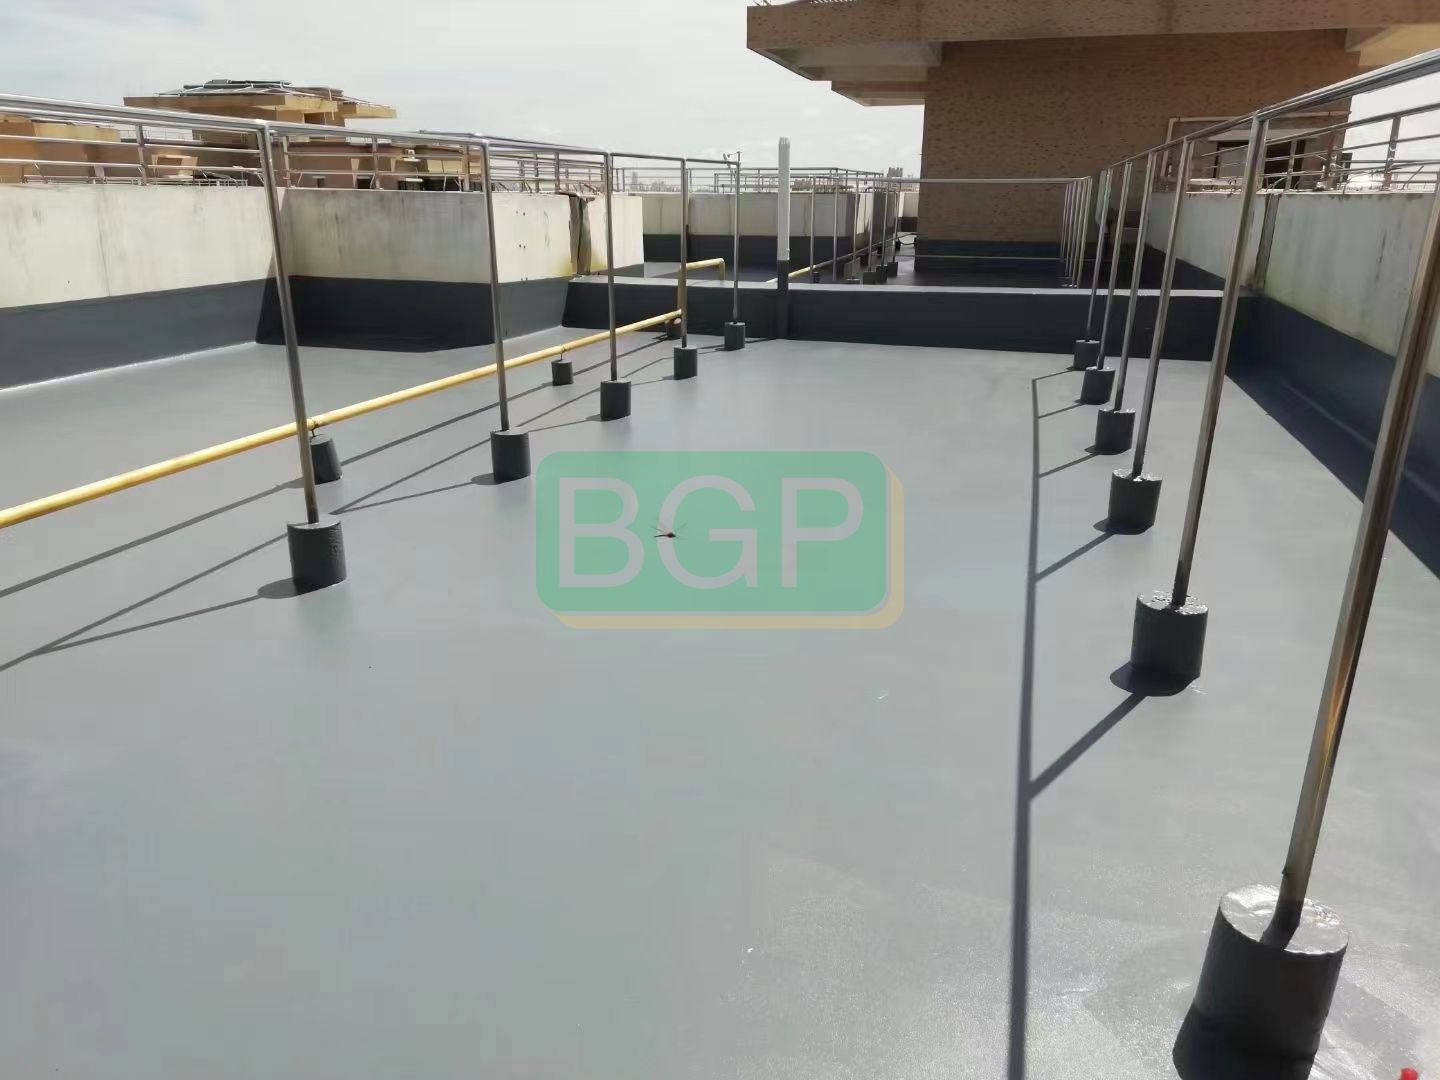
How to Apply Polyurea Spray Coating: Step-by-Step Guide
Applying polyurea spray coating requires proper preparation, equipment, and techniques to ensure a successful and durable waterproofing solution. In this step-by-step guide, we will walk you through the process of applying polyurea spray coating effectively.

Step 1: Surface Preparation
The first and crucial step is to prepare the surface properly for the polyurea coating. Ensure that the surface is clean, free from dust, debris, and any loose material. If there are any cracks or imperfections, repair them using appropriate methods. The surface should be dry and structurally sound before applying the coating.
Step 2: Masking and Protection
Mask off any areas that you want to protect from overspray, such as windows, doors, or adjacent surfaces. Cover and protect any delicate or sensitive equipment, fixtures, or materials nearby to avoid any accidental coating.
Step 3: Mixing the Polyurea Material
Follow the manufacturer's instructions for mixing the polyurea material. It typically involves combining two components, such as a base and a catalyst, in the correct ratios. Use the recommended mixing equipment, such as a mechanical mixer, and ensure thorough blending to achieve a homogenous mixture.
Step 4: Spraying Technique
Polyurea coatings are typically applied using specialized spray equipment, such as a high-pressure plural-component spray system. Familiarize yourself with the equipment and ensure it is in good working condition. Adjust the spray settings, including pressure and nozzle size, according to the manufacturer's recommendations.
Step 5: Application
Start by applying a thin and even base coat over the prepared surface. Maintain a consistent distance from the surface to achieve a uniform application. Apply the polyurea coating in a smooth, overlapping pattern, ensuring complete coverage. Work systematically and avoid over-spraying or leaving any gaps.
Step 6: Building Thickness
After applying the base coat, allow it to cure partially or reach a tack-free state, depending on the specific polyurea product instructions. Then, apply subsequent coats to build up the desired thickness. Each coat should be applied perpendicular to the previous coat, ensuring complete coverage and avoiding any missed areas.
Step 7: Curing and Drying Time
Polyurea coatings have a fast curing time, but the specific curing and drying time will depend on the product and environmental conditions. Follow the manufacturer's instructions regarding the recommended curing time before subjecting the coated surface to foot traffic or further construction activities.
Step 8: Inspection and Quality Assurance
Once the coating has fully cured, inspect the surface for any defects, inconsistencies, or areas that may require touch-ups. Check for uniform thickness, proper adhesion, and any signs of overspray or imperfections. Address any identified issues promptly to ensure a high-quality and long-lasting waterproofing solution.
Step 9: Post-Application Considerations
After completing the application, properly clean the spray equipment and dispose of any waste materials according to local regulations. Follow any additional recommendations from the manufacturer regarding post-application care, maintenance, and specific considerations for the polyurea waterproofing coating.
It is important to note that the above steps provide a general guideline for applying polyurea waterproofing spray coating. Always refer to the manufacturer's specific instructions, technical data sheets, and safety guidelines for the particular product being used. Additionally, consider engaging experienced professionals or certified applicators for complex or large-scale applications to ensure optimal results and adherence to industry standards.


